
When I was younger, my mum and auntie introduced me to the
world of baking. I remember borrowing books from the library and making apple
pie with my mum (apologies to whoever got the flour covered book after me). I
don't think I’ll ever forget the excitement of taking our first batch of scones
out of our old white oven, having accomplished something new, exciting and
edible.

I spent a few summer holidays with my auntie and two baby cousins, and there we made an assortment of cakes and cookies filled with sugar highs and sticky fingers. My favourite kind was the Mexican wedding cookies. My auntie found the recipe in a magazine and from there we made countless batches of the icing sugar coated treats. Unfortunately, I don't know where that recipe is now, but I can still remember the nutty sweetness of the fork-imprinted biscuits.
I came across
this book while searching for a cookie book in the bookstore that is downstairs
at work. It doesn't fit much of my criteria for a recipe book – there are
pictures for only some of the recipes and the measurements make use of the
imperial system. However there are some useful hints and tips and some lovely
explanations before the recipes. Plus, the pictures of cookies that were there
seemed pretty much irresistible.


When I was flicking through, I saw a recipe for Mexican
Wedding Cookies and I knew I had to make them. I made half of the batch on the
weekend with Ash helping and stored the remainder of the dough in the fridge to
bake mid-week and bring to work. The dough kept nicely in the fridge but I
probably wouldn’t keep it there for longer than a week in case it dries out.
They weren’t exactly the cookies from my fond memories, but they’ll help fill
the gap until I track that recipe down.
Baker’s Notes:
- The first batch I made was slightly larger, about a tablespoon full, but I found that these were more conducive to being bitten in half, resulting in a crumbly, buttery mess. So the second batch was made with teaspoon full sizes, meaning that the cookies could be popped inside the mouth, mess free.
- I tried to bake them until they have a dark golden colour, to bring out the almonds more, but I found that the bases of the cookies brown significantly faster so keep an eye out for that.
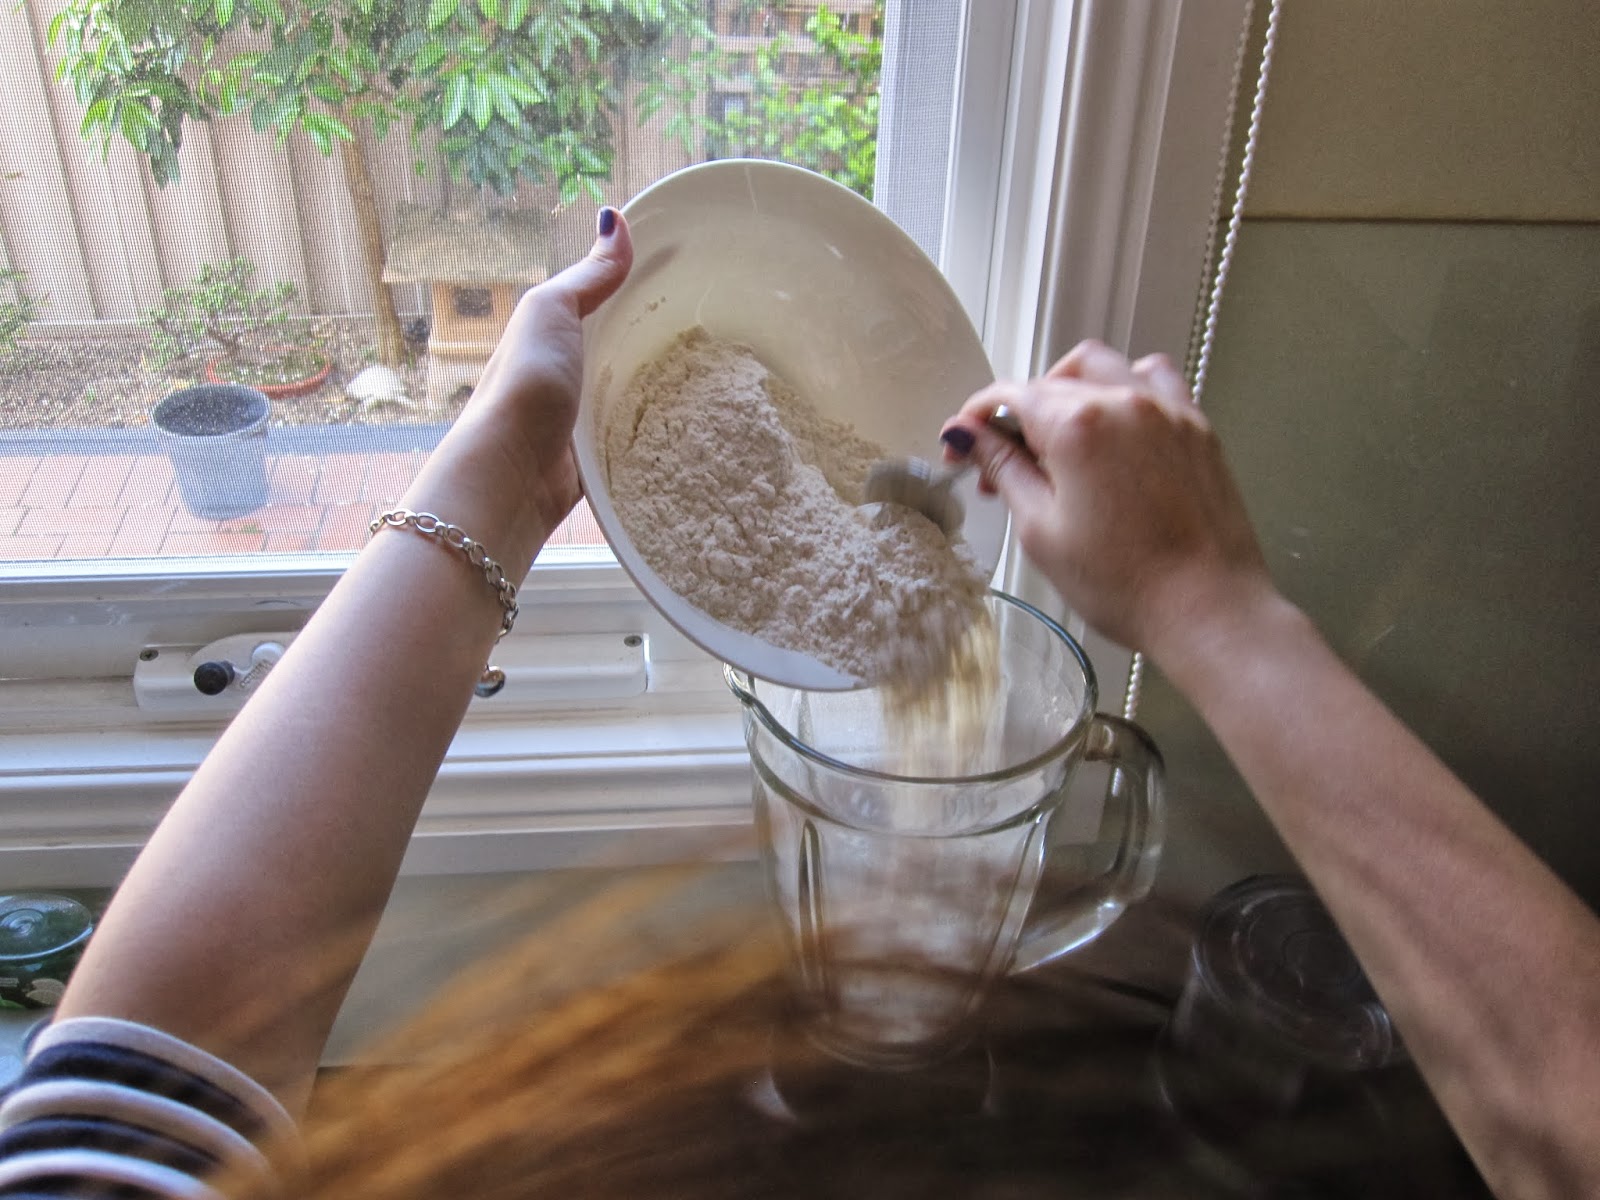
- As you can see from the photos, we attempted to use a blender in place of a food processor as it instructs in the recipe, but let me tell you now, this does not work. You just end up with a cloud of flour at best. Still, it was worth a shot. My house is too small for a large food processor.
- In the first batch I flattened the cookies with a fork in two opposite directions, but I prefer the cleaner look of just flattening them once.

- Recipe -
Adapted from Chewy
Gooey Crispy Crunchy Melt-in-you-mouth Cookies by Alice Medrich
Makes about 40 cookies
¼ cup (60g) caster sugar
2 cups (275g) all-purpose flour
½ teaspoon salt
225g unsalted butter, at room temperature
2 teaspoons vanilla extract
1 ½ cups (140g) ground almonds
Soft icing sugar, for dusting
1. Cream together the caster sugar and butter in the bowl of
an electric stand mixture with a paddle attachment or with a wooden spoon in a
medium sized bowl. Add the flour and salt and mix until combined. Finally, add
the nuts to create soft, buttery dough. Cover and place in the fridge for at
least 2 hours or overnight.
2. Preheat the oven to 160 degrees Celsius.
3. Line a baking tray with baking paper and spoon heaped
teaspoon amounts of the cookie dough onto the tray. Using your hands, roll the
dough into balls. Press each dough ball gently with a fork to flatten the balls
slightly.
4. Place in the oven for 20 – 22 minutes, or until lightly
golden on the top and golden brown on the bottom.
5. Take the cookies out of the oven to cool. Once completely
cool, dust with icing sugar to serve.

Have a lovely day,
Jen


No comments:
Post a Comment